In early October I was approached by a teacher and friend to help create a simple low-cost terrarium for high-school students taking biology 101 or what might eventually become biotech 101.
The idea behind the request was to teach students about photosynthesis and to give a little more hands-on experience using a terrarium and a couple of sensors enabling it to save all captured data in a format that could be easily graphed.
Luckily I have some experience with microcontrollers and other sensors;
Sensors
Now this got me thinking, what kind of sensors would be:
a) useful in this situation; and
b) simple enough to include in this project?
The first one on my list would have to be some sort of light sensor because photosynthesis only happens during the day. But just how much is the minimal amount of light required to kick off the process and does brighter or more light increase the reaction?
Temperature and/or humidity monitoring would probably be good to watch as well from more of a botanical perspective. If the terrarium is too hot or too cold it puts the plant life at risk and potentially ruins the experiment. Another thing that may be monitored are environmental conditions to determine if they affect the rate of photosynthesis.
To prevent students from drowning their plants a soil hydrometer might be useful.
And the most important of all sensors for photosynthesis would have to be either a CO2 or O2. Without one of these the experiment wouldn't have any measurable results.
Overall, materials that are required include the sensors, the glass container for the terrarium, soil, activated carbon or charcoal and some plants.
DHT22
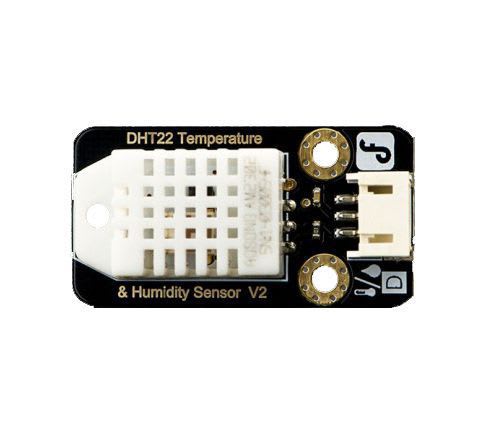
The DHT22 is a low-cost digital temperature and humidity sensor. It uses a capacitive humidity sensor and a thermistor to measure the surrounding air.
Both DHT11 and DHT22 are very common sensors which have a lot of documentation and presence on the web.
These sensors are more or less identical, though one measures more precisely, but in this experiment precision is not essential.
LDR
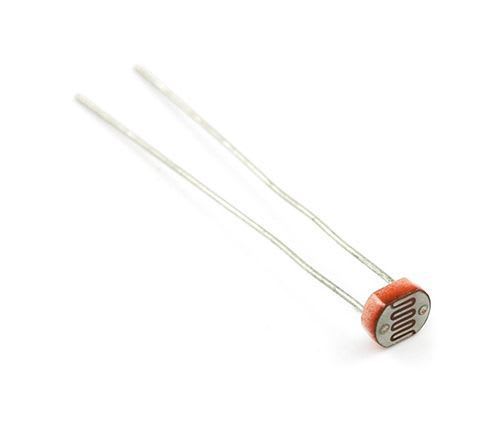
A photoresistor (or light-dependent resistor, LDR, or photocell) is a light-controlled variable resistor.
Light-dependent resistors increase their resistance based on the amount of light visible, making them incredibly cheap, easy, but while they're not inaccurate they don't provide any quantifiable output like lux.
MQ135
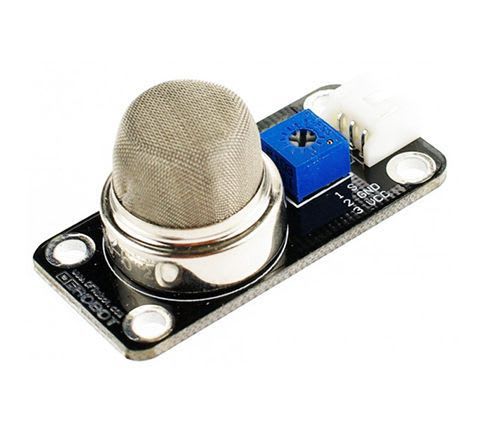
The MQ series of gas sensors use a small heater inside with an electro-chemical sensor. They are sensitive for a range of gasses and are used indoors at room temperature.
The MQ135 is mainly sensitive for benzene, alcohol and smoke, but with the right calibration it can also detect CO2, making it probably the cheapest CO2 sensor available.
Plants
At the time of writing moss is available in large quantities thanks to a very wet Australian winter and to obtain some you required only a spade.
However, local Garden Centres have a variety of other suitable plants such as:
- Hen and chick
- Golden Clubmoss
- Asplenium Bulbiferum
- Small succulents
- Cacti
- Moss
- Philodendron
- Peperomia
- Pilea
- Bromeliads
- Small orchids and Ferns
- Rex Begonia
- Aluminum Plant
- Pothos
- Baby Tears
- Mini English Ivy
The terrarium
After searching for a suitable container that would meet the required height and width.
I settled on the Begärlig vase from Ikea, giving this terrarium its official name.
Carbon
Pet stores have activated carbon readily available by the kg at a low cost.
Cost breakdown
This is what I paid when I purchased almost everything from eBay. Admittedly the Arduino is a clone and the parts were from China so I had to wait a few weeks for shipping, but it kept the cost down.
- $09.99 - Begärlig vase
- $01.09 - Activated carbon (3 KG @ $32.90 / 30 terrariums @ 100g ea)
- $02.88 - DHT22
- $04.15 - Arduino Uno R3
- $02.68 - Data logger shield, SD and RTC
- $00.99 - Light sensor
- $01.75 - MQ135
Total cost = $23.53 AUD
3D Design
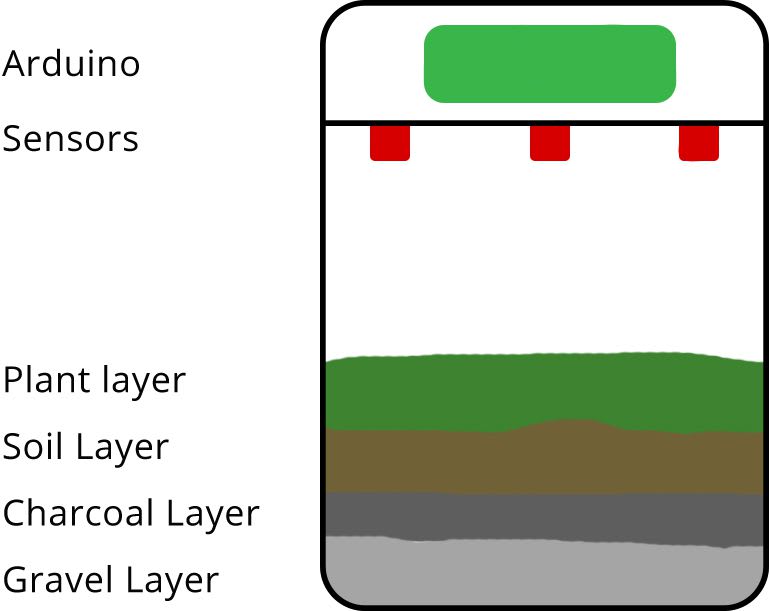
The philosophy behind the design was more or less, keep it simple. The plan was to create a lid type structure that would sit securely on the rim of the vase and hold the Arduino, shield and the 3 sensors but not necessarily keep it air tight.
After measuring the inner and outer diameter of the vase and the Arduino mounting holes I ended up with this;
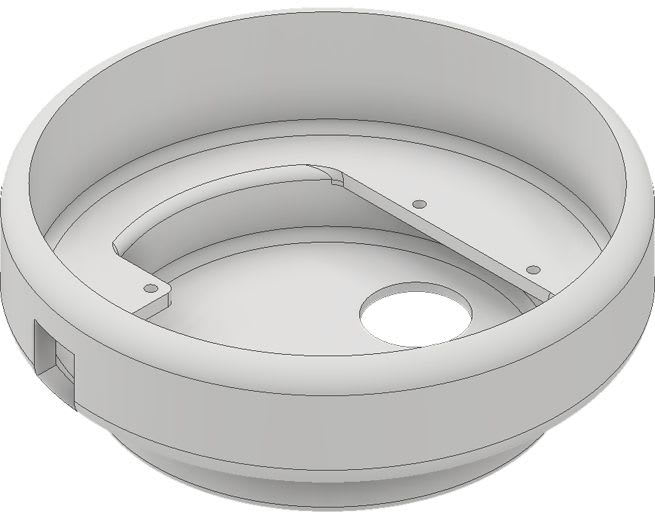
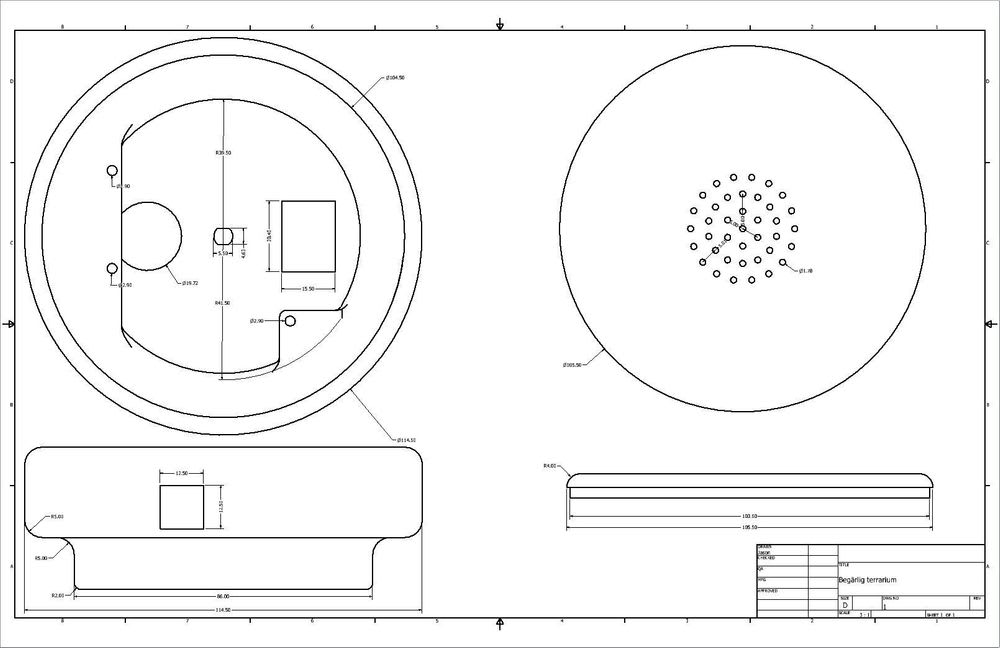
The bottom structure holds onto the rim of the vase with the sensors sitting at the bottom and Arduino secured in by screws in the middle. An opening allows for a USB cable to be inserted and provide power.
The top is merely a dust cover with some ventilation holes. Reducing the risk of fire hazards and all that.
Software and 3D models
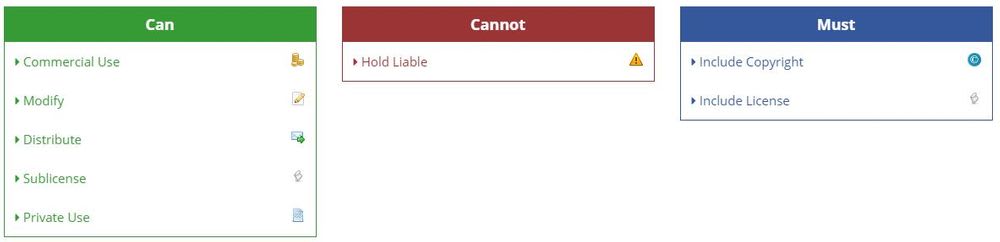
Built on the foundation of sharing knowledge, all Arduino microcontroller code is available for free. The project is open source, 100% free and everything is available on GitHub.
Everything that is part of the Begärlig terrarium is licenced under the MIT licence. Which means...
In keeping with the educational motif of this project I have kept track of all of the code and 3D design changes from beginning to end using git, a version control system.
Assembly
Terrariums are built on layers, each layer adds something of value to the terrarium. The 3 base layers are;
- Gravel
- Activated charcoal/carbon
- Soil of some kind
With that in mind are a extensions of ones creative side and there are no wrong ways to design the uppermost layers.
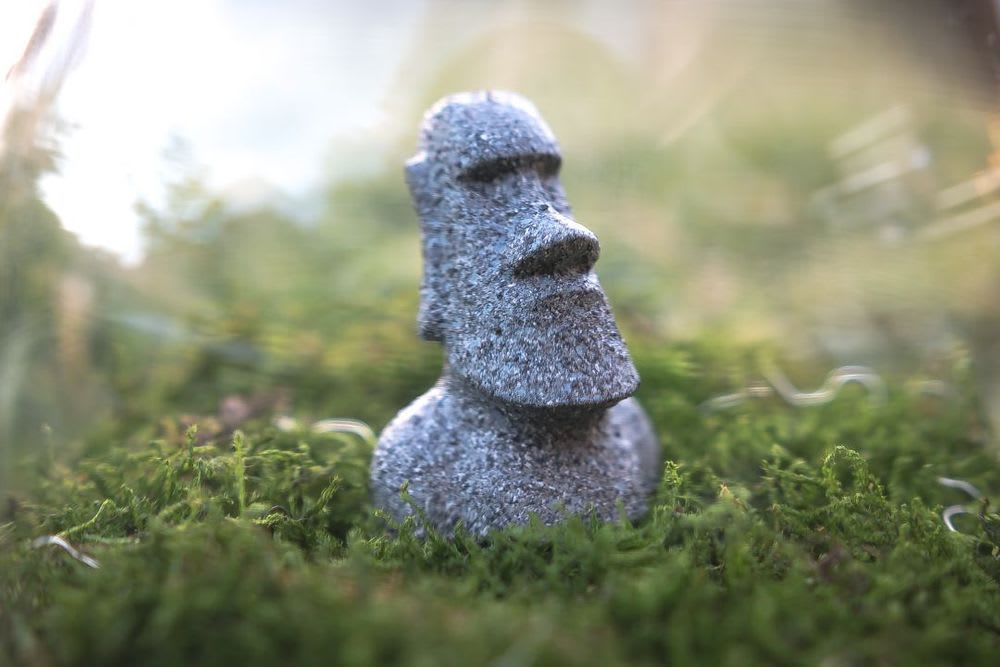
My initial creation was a simple design with an ornament placed roughly in the middle. Over time I may add or remove ornaments, change plant life or create changes in the terrain, but for now my terrarium looks a little like this:
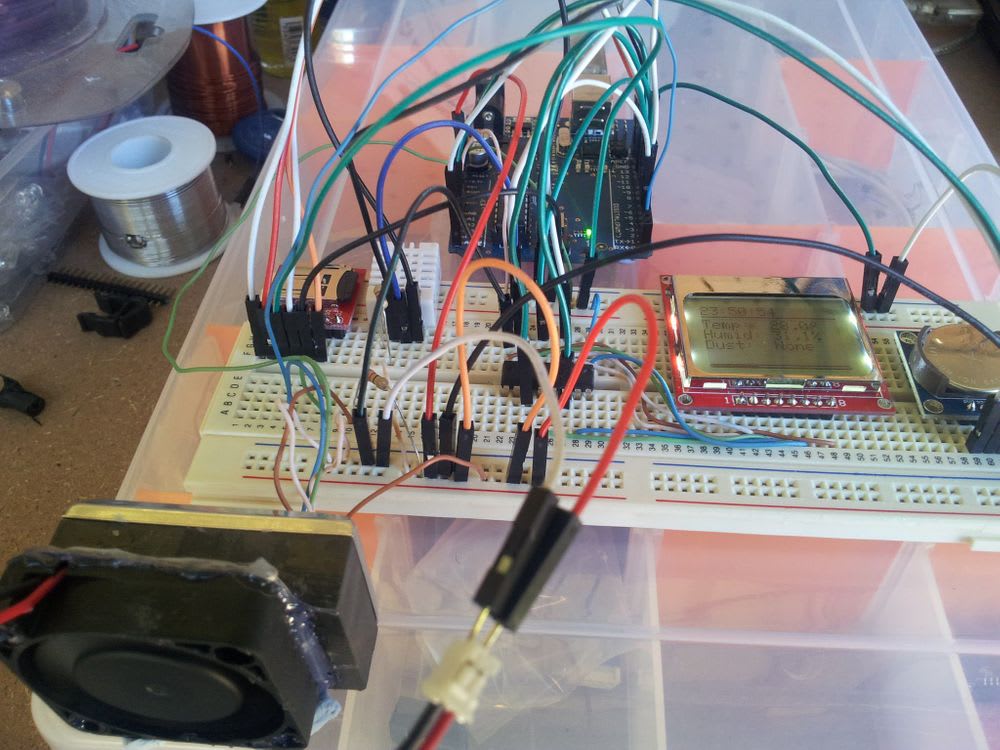
Watch this space - detailed wiring diagram coming soon.
Data
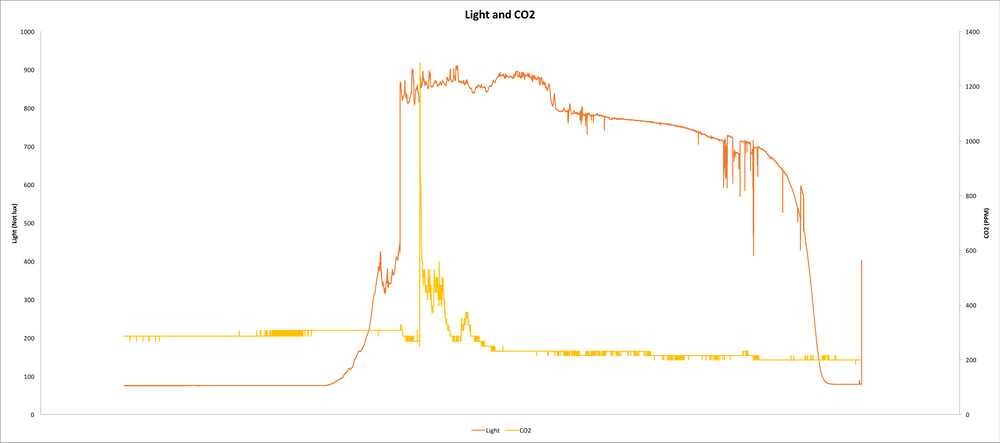
As I've written it, the Arduino outputs all information in CSV format which means it can be opened in Excel, Calc by OpenOffice, R or almost any other application out there.
Below are some examples of the data and how it can be used.
Datetime,                Temp, Humidity,    Light,  CO2 PPM
2016/11/02 08:08:55,       26,       83,      639,      250
2016/11/02 08:08:57,       26,       83,      637,      250
2016/11/02 08:08:59,       26,       83,      635,      250
2016/11/02 08:09:01,       26,       83,      638,      232
2016/11/02 08:09:03,       26,       83,      640,      250
2016/11/02 08:09:05,       26,       83,      643,      232
2016/11/02 08:09:07,       26,       83,      636,      250
2016/11/02 08:09:09,       26,       83,      639,      250
2016/11/02 08:09:11,       26,       83,      644,      250
2016/11/02 08:09:13,       26,       83,      644,      250
2016/11/02 08:09:15,       26,       83,      645,      250
2016/11/02 08:09:17,       26,       83,      639,      250
2016/11/02 08:09:19,       26,       83,      638,      250
2016/11/02 08:09:21,       26,       83,      641,      250
2016/11/02 08:09:23,       26,       83,      650,      250